Stable Diffusion is a tool for generating images which can be deployed locally.
Stable
Overview
Stable Diffusion is a tool for generating images based on text prompts. Dify has implemented the interface to access the Stable Diffusion WebUI API, so you can use it directly in Dify. The following are steps to integrate Stable Diffusion into Dify.
Configuration
1. Make sure you have a machine with a GPU
Stable Diffusion requires a machine with a GPU to generate images. However, it's not necessary; you can use CPU to generate images, but it will be slow.
2. Launch Stable Diffusion WebUI
Launch the Stable Diffusion WebUI on your local machine or server.
2.1. Clone the Stable Diffusion WebUI repository
Clone the Stable Diffusion WebUI repository from the official repository:
2.2. Launch it locally
After cloning the repository, change directory to the cloned repository and run the following command to launch the Stable Diffusion WebUI.
Windows
Linux
2.3. Prepare Models
Access the Stable Diffusion WebUI on your browser according to the address shown in the terminal. Download the models from HuggingFace or other sources and put them in the directory of the Stable Diffusion WebUI.
For example, we use pastel-mix as the model, use to download the model and put it in the models directory in .
2.4 Get Model Name
Now you can see in the model list, but we still need to get the model name, visit to get the model name. You will see output like:
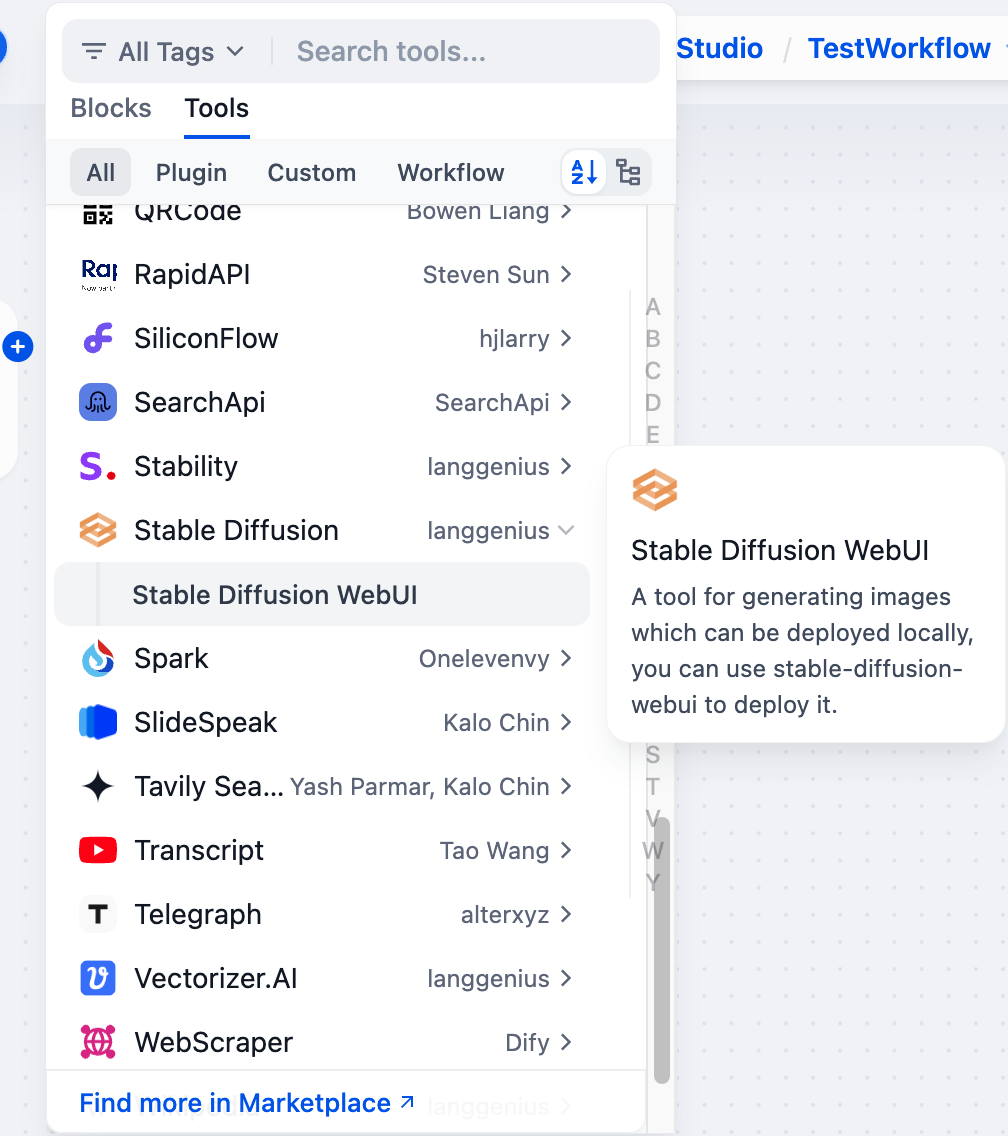
3. Get Stable Diffusion tools from Plugin Marketplace
The Stable Diffusion tools could be found at the Plugin Marketplace, please install it first.
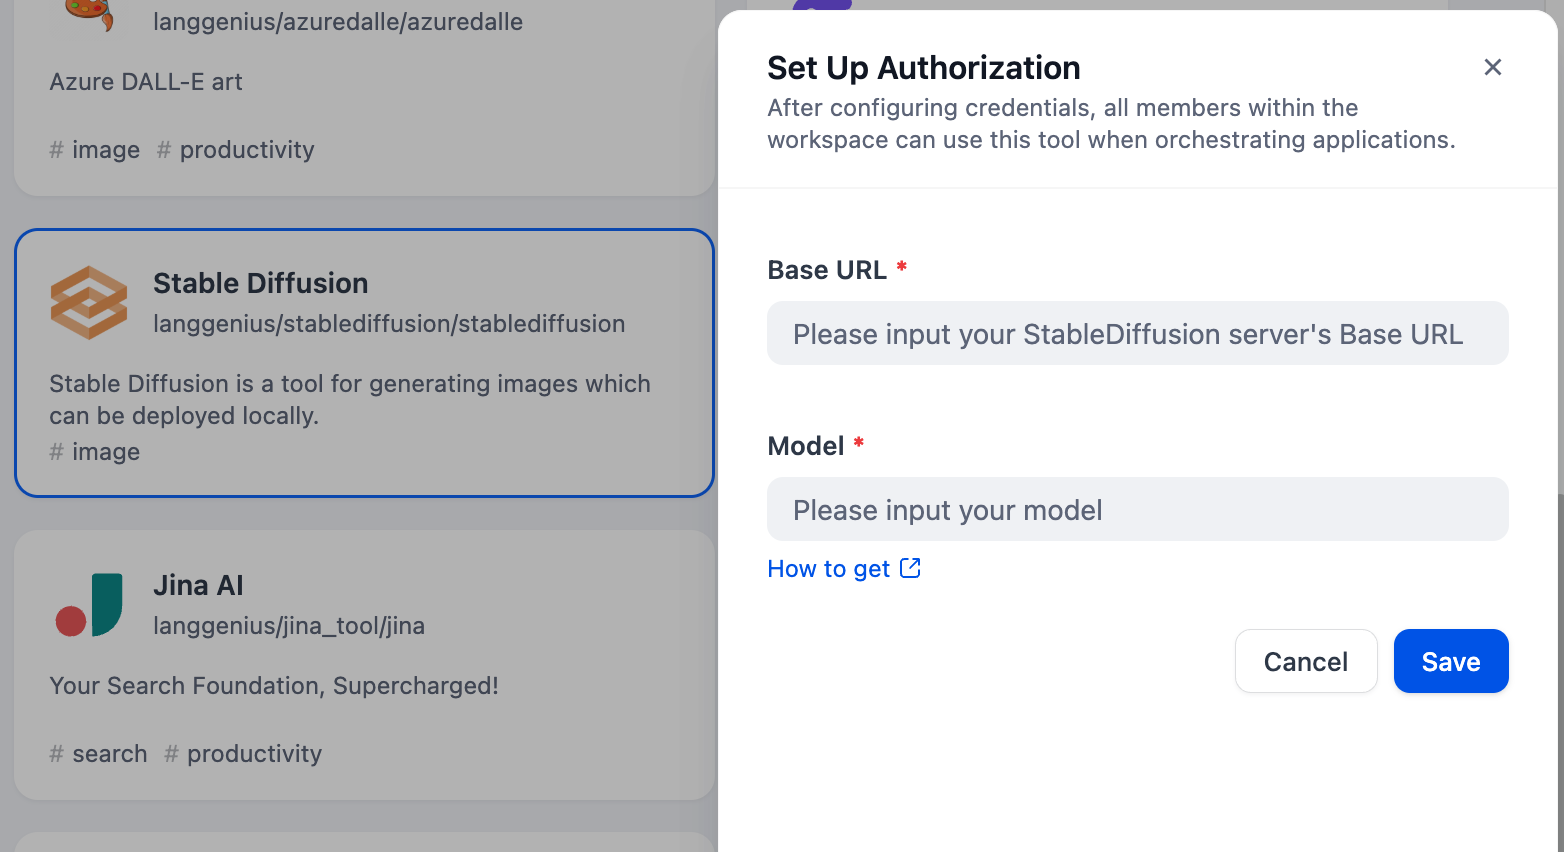
4. Integrate Stable Diffusion in Dify
Fill in the Authentication and Model Configuration in with the information you get from the previous steps.
5. Using the tool
You can use the Stable Diffusion tool in the following application types:
Chatflow / Workflow Applications
Both Chatflow and Workflow applications support adding tool nodes. After adding, you need to fill in the variable referencing the user's input prompt or the content generated by the previous node in the "Input Variables → Prompt" section within the node. Finally, use a variable to reference the image output by in the "End" node.
Agent Applications
Add the tool in the Agent application, then send image descriptions in the chat box to invoke the tool and generate AI images.